AI Integration
Serverless backend built with Firebase Cloud Functions, for AI integrations like ChatGPT and Replicate AI. The AI Module in KMPStarterKit is ready to use with minimal setup. AI integration consists of two parts: the mobile (client) side and the backend side. We cannot directly use OpenAI or Replicate APIs on the mobile side because they require an API key, and storing API keys in client-side code is not secure. Therefore, we will add an API proxy using Firebase. Add your OpenAI or Replicate AI API keys to Google Secret Manager, deploy Firebase Cloud Functions, and set your CLOUD_FUNCTIONS_URL in root/AppConfiguration file. Firebase Cloud Functions are free to start with generous free limits, but be sure to set a budget limit to avoid unexpected charges. (For a quick prototype without Firebase, you can call the providers directly from the device — see Direct mode — but that ships the key in the app, so production should use the proxy.)
Backend - Firebase Functions Setup
Cloud Functions only deploy on the Blaze (pay-as-you-go) Firebase plan — the free Spark plan can't run them. Upgrade at Project Overview → Usage and billing → Details & settings → Modify plan → Blaze (generous free tier; set a budget alert). See Firebase Integration.
Before starting, you need to initialize Firebase in your project. From the kmp-contest-starter-kit monorepo, navigate to Web/functions/:
1. Install Firebase CLI
The functions run on the Node 22 runtime, so use an active Node LTS (20 or 22) locally to avoid old-runtime and modern-engine deploy errors. If the CLI isn't installed:
npm install -g firebase-tools
Or, with no Node required (macOS/Linux): curl -sL https://firebase.tools | bash.
2. Login to Firebase
firebase login
AI Backend functions setup
1. Initialize Firebase Functions
Set up Firebase Functions:
firebase init functions
- Choose your Firebase project or create a new one.
- When prompted:
- Select
JavaScriptas the language for functions. - Install dependencies when asked.
- Select
2. Test Locally
You can test your app locally before deploying it:
firebase emulators:start --only functions
3. Deployment
firebase deploy --only functions
After Deploy it you can see your CLOUD_FUNCTIONS_URL in terminal. You will need this URL.
Two common one-time causes:
- Secret Manager API not enabled — see API Key Management below.
- No default resource location — the deploy uploads its source bundle to a Cloud Storage
staging bucket, which a fresh project doesn't have until a location is set. In the Firebase
Console open Storage → Get Started and pick a region (this sets the project's default
resource location). Otherwise the deploy fails with
Failed to make request to generateUploadUrl. You don't use Cloud Storage in the app — this is only to let Functions deploy.
Enable both, then re-run firebase deploy --only functions.
Configuration
The AI backend functions are pre-configured to support integration with popular APIs like Replicate and OpenAI, implemented in the functions/index.js file. To keep the first deploy zero-config, only Replicate is enabled by default, so you need just one key (REPLICATE_API_KEY) to get started. You choose which providers deploy with the AI_PROVIDERS environment variable — no code editing (see Choosing which providers to deploy).
Available AI Functions
-
Replicate API Functions: These functions handle interactions with the Replicate API.
replicateCreatePredictionreplicateCreateModelPredictionreplicateGetPredictionStatusreplicateCancelPrediction
You can find these functions in the
api/replicate.jsfile. Replicate API documentation for request and response: https://replicate.com/docs/topics/predictions -
OpenAI API Functions: These functions interact with the OpenAI API for generating text and images.
openAiCreateTextCompletionopenAiCreateImage
These are located in the
api/openai.jsfile. OpenAI API documentation for request and response: https://platform.openai.com/docs/api-reference/chat
API Key Management
To securely store and access your API keys, you can use Google Cloud Secret Manager. This is a secure and scalable way to manage sensitive information like API keys. Below are the steps to retrieve and store your keys securely.
Steps to Obtain API Keys
-
OpenAI API Key:
- To use OpenAI’s API, you need an API key. You can obtain it by signing up for OpenAI at OpenAI's API page.
- After signing in, go to the API Keys section under your account settings to create and retrieve your API key.
-
Replicate API Key:
- To use Replicate's API, create an account on Replicate.
- Once logged in, go to the API section of your account dashboard, where you can generate and retrieve your API key.
Saving API Keys with Google Cloud Secret Manager
Once you have your API keys, you can securely store them in Google Cloud Secret Manager.
-
Enable the Secret Manager API:
- Cloud Functions can't read secrets until the API is on. Open the API library page and click Enable:
https://console.cloud.google.com/apis/library/secretmanager.googleapis.com?project=YOUR_PROJECT_ID(replaceYOUR_PROJECT_ID). Then open the Secret Manager console.
- Cloud Functions can't read secrets until the API is on. Open the API library page and click Enable:
-
Create Secrets (before deploying):
- Click Create Secret and enter the name for the secret. Create
REPLICATE_API_KEY(the default provider); addOPENAI_API_KEYonly if you enable OpenAI. - Paste your API key in the Secret Value field and click Create.
- Creating the secrets before
firebase deployavoids interactive prompts and 403 errors.
- Click Create Secret and enter the name for the secret. Create
-
Grant Access:
- Ensure that the service account running your application has access to the secret. You can grant access by setting the appropriate permissions to allow your app to retrieve secrets.
Choosing which providers to deploy
You don't need to edit code to enable/disable a provider. functions/index.js reads the
AI_PROVIDERS environment variable (comma-separated) and only exports the listed providers'
functions. An unexported function doesn't bind its secret, so you only need the API key for the
provider(s) you enable.
AI_PROVIDERS | Deployed | Secret required |
|---|---|---|
| (unset — the default) | Replicate only | REPLICATE_API_KEY |
openai | OpenAI only | OPENAI_API_KEY |
replicate,openai | Both | both |
To change the default, copy functions/.env.example to functions/.env and set the variable, e.g.:
# functions/.env
AI_PROVIDERS=replicate,openai
API keys are not set in .env — they stay in Secret Manager. Local .env files are gitignored.
API Response Structure
All API responses are returned in JSON format. The structure follows this format:
{
  "statusCode": <statusCode>,
  "errorMessage": <errorMessage>,
  "data": <data>
}
statusCode: Represents the HTTP status code of the response.errorMessage: If an error occurs, this field contains the error message. If there’s no error, this field will be empty ornull.data: This field contains the actual response data returned by the AI API, such as predictions, results, or generated content based on each AI api's response object.
Validation
By default, all API requests require user authentication via Firebase, primarily to secure access to the AI APIs due to their potential cost. Before making any API request, the user must be authenticated. If you want to allow unauthenticated access to any endpoint (e.g., for testing or development purposes), you can disable authentication by setting requireAuth: false in the validation function:
createPrediction: onRequest(async (req, res) => {
    cors(req, res, async () => {
        if (!await Validation.validateAll(req, res, { requireAuth: false })) return; <--- IN THIS LINE WE SET AUTH REQUIREMENT FALSE
        await makeApiRequest(`${REPLICATE_API_BASE_URL}/predictions`, "post", getReplicateApiKey(), req.body, res);
    });
}),
Mobile - Client Side Setup
Add CLOUD_FUNCTIONS_URL into root/AppConfiguration.kt file.
 /**
     * CLOUD_FUNCTIONS_URL should be something like: "https://REGION-PROJECT_ID.cloudfunctions.net"
     * Regions:
     * US(Default): us-central1
     * EU: europe-west1
     */
    const val CLOUD_FUNCTIONS_URL=""
Now you can use ReplicateApiService or OpenAiApiService anywhere you need.
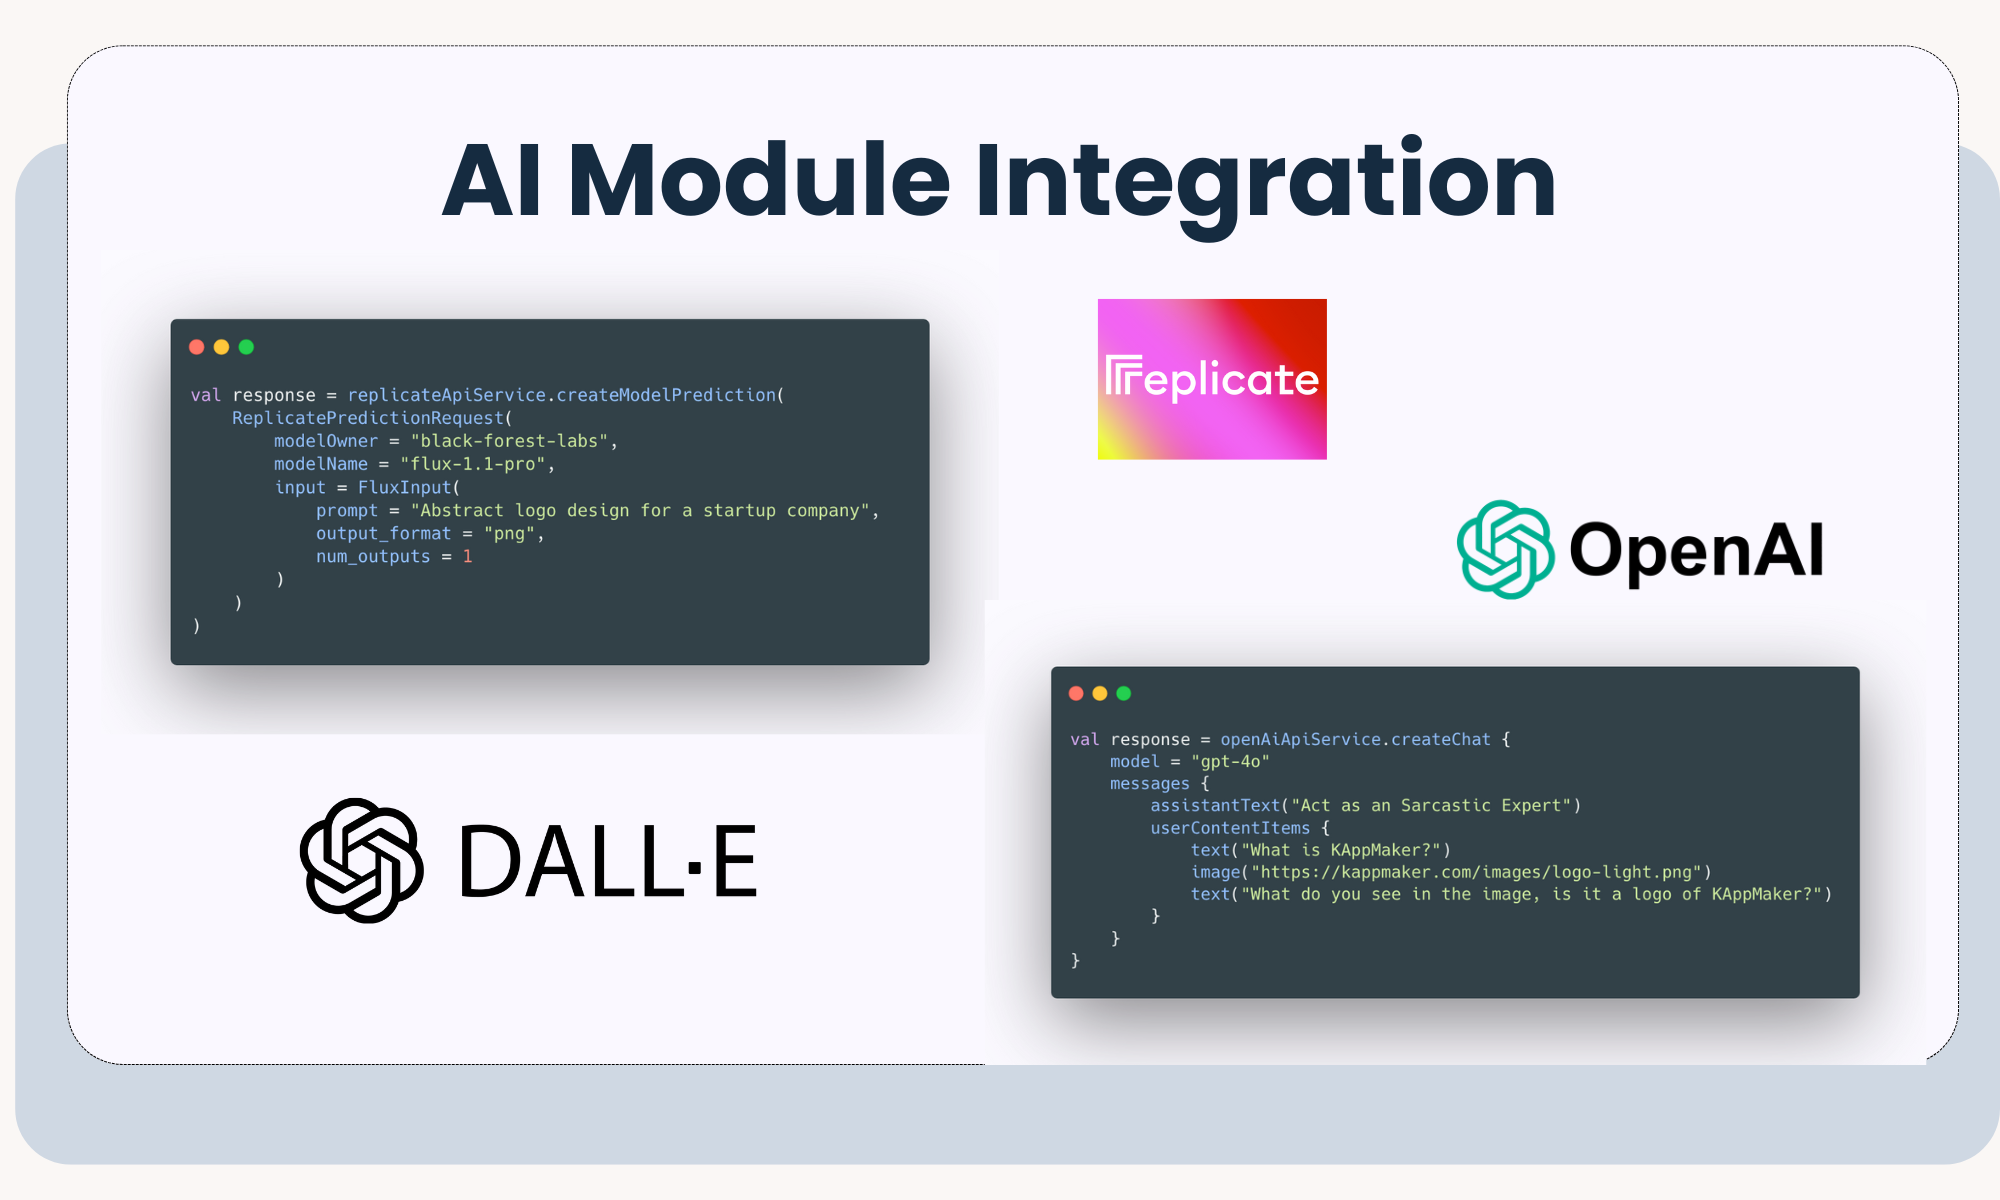
Direct mode (no-Firebase prototyping)
For a quick prototype you can skip the proxy entirely and call OpenAI/Replicate directly from the device, so you don't need Firebase or a deployed backend to try AI generation.
- Put a key in
MobileApp/local.properties:OPENAI_API_KEY=your_openai_key
REPLICATE_API_KEY=your_replicate_key - Leave
AppConfiguration.CLOUD_FUNCTIONS_URLblank.
The client's AiTransport then routes each call straight to api.openai.com / api.replicate.com
(auto-detected when CLOUD_FUNCTIONS_URL is blank and a key is set; AppConfiguration.USE_AI_PROXY_SERVER
overrides — true = proxy, false = direct). The ReplicateApiService / OpenAiApiService and their
DTOs are unchanged — AiTransport adapts the raw provider response into the same response envelope.
In direct mode the API key is compiled into the app binary — anyone can extract it. Use this only
for local development. Before publishing, deploy the Firebase proxy, set CLOUD_FUNCTIONS_URL, and clear
the direct keys so your keys stay in Secret Manager. Text→image is fully Firebase-free; image-editing
still uploads the reference image to Firebase Storage.