Authentication
KMPStarterKit provides an easy setup for authentication using Firebase Authentication and the KMPAuth library. KMPStarterKit already supports multiple authentication providers, including Google and Apple, as well as functionality for getting the current user, logging out, and deleting a user. This section guides you through the necessary steps to configure user authentication in your application.
Setting Up Firebase Authentication
-
Create a Firebase Project:
- Navigate to the Firebase Console.
- Create a new project or select an existing one.
-
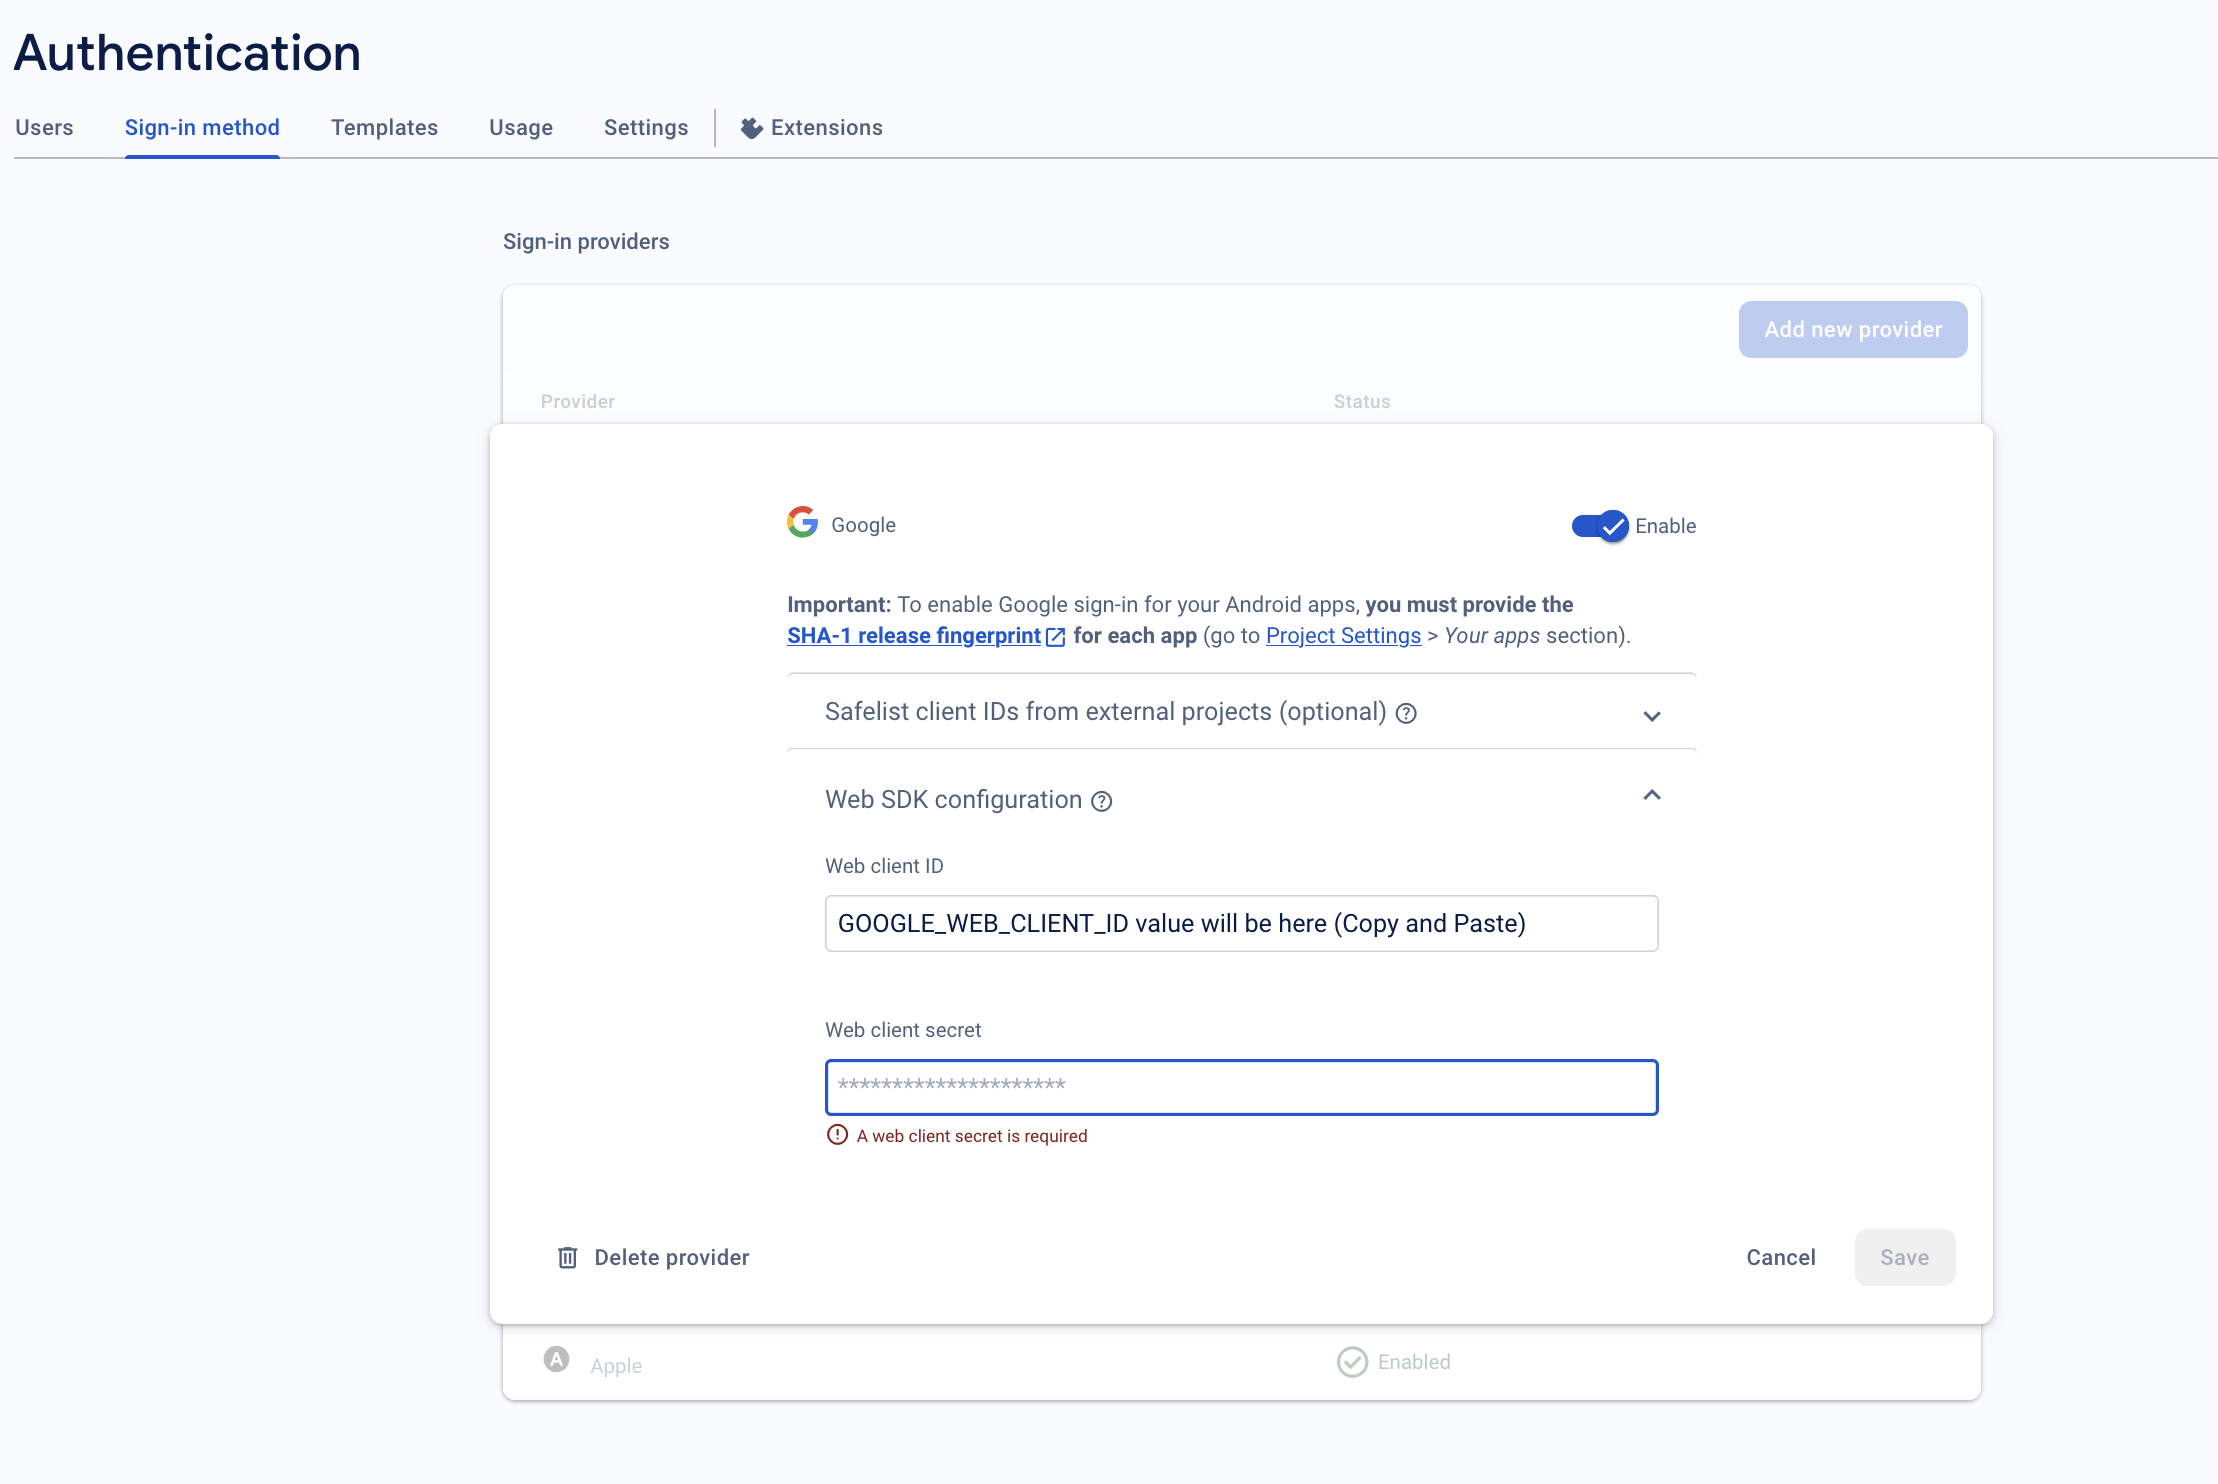
Enable Authentication Providers:
- In the Firebase console, go to the Authentication section.
- Click on the Sign-in method tab.
- Enable the desired authentication providers (e.g., Google, Apple) by enabling them on and providing any required configuration, such as OAuth credentials (more details are given in the following paragraph).
-
Add Configuration Files: After enabling desired sign-in methods, download firebase configuration file again.
- For Android, download the
google-services.jsonfile and place it in theandroidAppfolder of your project. - For iOS, download the
GoogleService-Info.plistfile and add it to theiosApp/iosAppfolder.
- For Android, download the
Implementing Authentication
1. Google Sign In:��
Setting Up Google Sign In for Android
For Google sign-in to work in Android, you need to set GOOGLE_WEB_CLIENT_ID value in local.properties file to the Web Client ID from your Firebase project.
Setting Up Google Sign In for iOS
For Google sign-in to work in iOS, in your iOS project, update the following fields in the Info.plist file (located in iosApp/iosApp) with values from Firebase:
- Replace
YOUR_WEB_CLIENT_IDwith the Web Client ID (same asGOOGLE_WEB_CLIENT_IDvalue). - Replace
YOUR_IOS_CLIENT_IDwith the iOS CLIENT_ID. - Replace
YOUR_DOT_REVERSED_IOS_CLIENT_IDwith the ios REVERSED_CLIENT_ID.
You can find CLIENT_ID and REVERSED_CLIENT_ID values from GoogleService-Info.plist file.
<key>GIDServerClientID</key>
<string>YOUR_WEB_CLIENT_ID</string>

<key>GIDClientID</key>
<string>YOUR_IOS_CLIENT_ID</string>

<key>CFBundleURLTypes</key>
<array>
  <dict>
    <key>CFBundleURLSchemes</key>
    <array>
      <string>YOUR_DOT_REVERSED_IOS_CLIENT_ID</string>
    </array>
  </dict>
</array>
2. Apple Sign In:
Setting Up Apple Sign In for iOS
For Apple Sign-In to work in iOS, follow these steps:
- In Xcode, go to your project settings.
- Select your target, then navigate to the Signing & Capabilities tab.
- Click the + button and add the Sign In with Apple capability.
Setting Up Apple Sign In for Android
For Apple Sign-In to work in android, follow these steps:
-
Create a New Auth Key:
- Visit Apple Developer Account.
- Go to Certificates, Identifiers & Profiles > Keys.
- Click the + button and provide a key name.
- Enable Sign In with Apple.
- Select Configure, then choose the Primary App ID.
- Click Continue and download the
.p8file. (Keep it secure.) - Note your Key ID and Team ID from your Apple Developer Account.
-
Create a Service ID:
- Go to Identifiers > Service IDs.
- Click the + button to create a new Service ID.
- Provide a Description and Identifier (e.g.,
com.yourcompany.yourapp.auth). - Enable Sign In with Apple and click Configure.
- In the configuration, add the Primary App ID.
- Return URL: add Firebase OAuth redirect URL:
https://<your-app-id>.firebaseapp.com/__/auth/handler - Domains and Subdomains:
<your-app-id>.firebaseapp.com - Click Save.
-
Configure in Firebase:
- Go to Firebase Console > Authentication > Sign-in Method.
- Enable Apple and copy the
.p8key content you downloaded before into Private key field. - Enter your Key ID, Team ID, and Service ID.
Sign In Screen
SignInScreen is a single screen that handles both sign in and sign up flows, plus a guest path:
- In-place mode toggle — a "New here? Create account" / "Already have an account? Sign in" row at the bottom flips the screen between modes without navigating. The toolbar title and main heading update accordingly.
- Initial mode —
SignInScreenRoute(isSignIn: Boolean = false)chooses which mode the screen opens in. Passtrueto land directly on sign-in. - Existing-account fallback — if the user attempts to create an account that already exists (
UserAlreadyExistsExceptionfrom the OAuth provider), the screen automatically switches to sign-in mode and surfaces a message. - Continue as guest — a text button that calls
UserRepository.continueAsGuest(), which signs the user in anonymously if they aren't already (KMPStarterKit also auto-signs anonymously on first launch viasignInAnonymouslyIfNecessary()), then dismisses the screen.
User Management
The ProfileScreen and SignInScreen already handles the current user, logging out, and deleting the user for you. If you need, the core functionality is managed by UserRepository. You can manage the current user, log out, and delete the user using UserRepository:
Sign Out
To sign out a user, call the logOut() method. This logs the user out of the app and any linked services.
Current User
You can get information about the current user, such as their ID, email, and subscription status, using the currentUser field.
Continue as Guest
To sign the current user in anonymously (or no-op if they already have a session), call the continueAsGuest() method. This is what the Continue as guest button on SignInScreen calls under the hood.
Delete Account
To delete a user's account, call the deleteAccount() method.